Pages

Tuesday, 30 September 2014

Truest Wisdom Journal Page

Hello everyone!

Lynne here. I am back with a journal page spread for you to try. Naomi and I haven't chatted in a while so we didn't know we were using the same stamp set for our October projects. I guess it shows how much we both love the Sara Naumann stamp sets. They are so versatile and adaptable.


I have also used some of the new Jofy Paper Artsy Fresco paints and a stencil by Crafter's Workshop, which has just become my favourite!


Pattern Strips by Crafter's Workshop

I'm working a small journal with loose pages. It's loose because it fell apart!  I will bind together when all the pages are finished. Each page measures 20cm x 14cm.

Anyway, start by applying gesso lightly to the two journal pages that will become your spread. 

On an extra piece of journal paper, paint some swatches with Cherry Red, Chalk and Claret. Yes, Claret not Plum that is in the set. I think Claret works better for this project.


Stamp the hearts from Paper Artsy ESN11 with Versa fine Onyx Black on each of the painted backgrounds.


...and fussy cut the small hearts. Set aside for later.

Back to the journal pages.With a brush apply Slate, Turquoise and Mermaid in the places shown. Work quickly and use a baby wipe to blend the colours into each other.


Spray lightly with water and leave for a minute before wiping the water away gently with a clean baby wipe. You should have lighter speckled areas where the water was sitting.


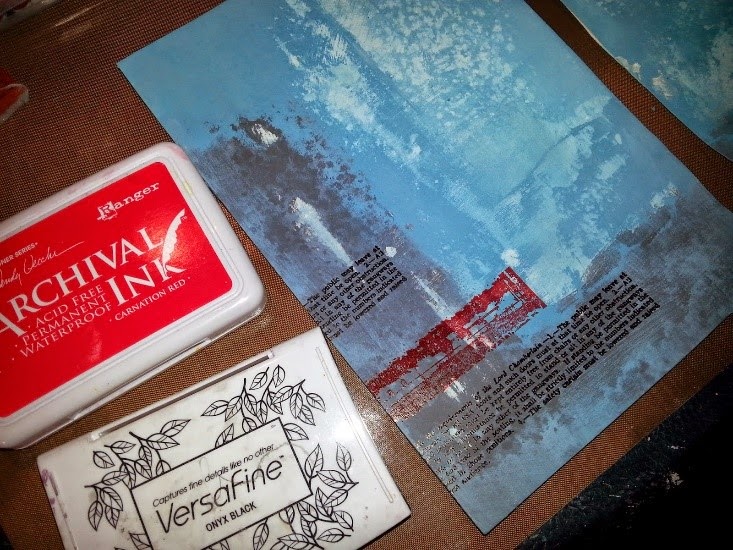
Now for some more fun! Stamping, I used the text from Paper Artsy ESN12 stamp set and the grungy 'whatever-it-is' at the bottom of the Paper Artsy ESN11 stamp set with Archival ink Carnation Red and Versafine Oynx Black as shown here.


More stamping...the bricks from Paper Artsy ESN12 and Black Oynx 

And my new favourite stencil! For the red on the left hand page I used the plain strip stencilled with Paper Artsy Fresco Cherry Red and also for the white with dots, I used the plain strip stenciled with Paper Artsy Fresco Chalk and the dot strip with Cherry Red.

In the photo below you can see on the left hand page I went over the red strip with Chalk stenciled through another design from the stencil.


Next came the hearts adhered in place with gel medium and a few red stamped texts...at first sight...from ESN12


Now for a few Cherry Red watered down splatters and a few Chalk ones for good measure.


On a small piece of journal paper paint a strip of Mermaid and when dry, stamp the quote from ESN11 in Carnation Red. Ruler tear around the words and paste in place.


I used the stamp text phrase 'My Heart.' from ESN11 with Onyx Black but it didn't show up as much as I would have liked......


......so, I stamped it on white journal paper and ruler tore it out and placed it with glue medium over the top. Much better.


Finish off by softening around the hearts and texts with a black charcoal pencil. I hope you try this project or at least one of the techniques. These stamp sets work so well together and can be used for many projects. Enjoy!

Thanks Lynne


Monday, 22 September 2014

Icad fun


Hi crafters its Naomi here with a fun Icad to share with you. Icad's are so much fun and a great way to experiment and try new things.  I have been hanging out to play with this new Sara Naumann Eclectica stamp set so I decided to make a quick Icad to try it out.

What I used:
Eclectica ESN11 stamp set
Turquoise & Tango Fresco Finish paint
Orchid & Geranium Izink
Jet Black Archival Ink

Here's how I went about making the Icad:

1. I stamped the script stamp in 2 of the corners with archival ink.


2. I lightly spritzed the card with water before spreading the paint to give a watercolour look


3. Using archival ink I stamped the hearts and then coloured them using Izink


4. I added some extra stamping to the background then stamped the phrase onto card and cut up before glueing it down using gel medium.


5. The last step was to outline the wording to help it pop from the page and add some black splatters


 I hope you have enjoyed this little tutorial and you are inspired to give Icad's a try.

Naomi x


Thursday, 4 September 2014

Scribbly Bird Triptych


Hello everyone!
Lynne here with another project for you to try. My friends know that I love birds, especially little ones like these Dina Wakley’s Scribbly Birds. This triptych was a lot fun to create. I love the way these acrylic inks can be diluted and used like watercolours and they can also be dripped on with the built in eyedropper for rich luscious coverage.
Why not try out this project or something similar?

Here is a list of what I used:
Grungeboard rectangle scored into thirds.
300gsm HP watercolour paper
Water spray
Ranger Cut-n-Dry Stamp Pad Foam
Versamark or white pigment ink stamp pad
Embossing powder- white, navy
Mini brads- one white, two navy
Heart brad- white

Here are the steps I followed:

1.       Spray watercolour paper (enough to cover two panels) until it is wet and drop on the three colours of Izinks. The colours should move and blend. If you need to, add more water and agitate with a wet brush until you get the effect you want.


2.       Tape the Artistcellar Quasi stencil to a piece of watercolour paper. Use the white side of a piece of Cut ‘n’ Dry and with one colour Izink lightly applied to the foam, dab through the stencil in a few places. Repeat with the other two Izink colours until the whole stencil design has been created.


3.       Remove the stencil carefully. This stencilled watercolour paper needs to be cut to size to fit into the centre of the triptych. Colour around the edges with one of the Izinks and water if needed to fill any gaps.


4.       Cut to size and adhere to centre panel with matte medium.

5.       Cut the other two panels to size and adhere them also.
I like to use a piece of sandpaper around the edges to make everything smooth and neat.


 Your triptych should be able to stand alone.

 6.       Stamp one bird on each panel using the Versamark stamp pad, add white embossing powder to outer birds and navy to the centre bird and heat set.


 7.       Drop Izink colours onto the birds and move the colours around with a dry brush to create a thick, glossy. texture


 8.       Add some mini brads to the eyes.


 9.       Use a white Sharpie to add some outlines and some dots on the birds’ breasts and on the centre bird’s beak.


10.   And now to add some words…
Stamp the text on watercolour paper using a black stamp pad. Cut out the words and arrange them. Then adhere them with matte medium.


 11.   A little extra white Sharpie here and there……


And we are nearly done!
Add a little white heart embellishment to the centre bird…


Finished!
I covered the back of my triptych with coordinating scrapbook paper.
I hope you enjoyed this tutorial.
See you next time,
Lynne

Monday, 1 September 2014

September Challenge

Hi Crafters

We are very excited to be introducing a monthly challenge for you all to play along with. There will be a great prize of a $20 voucher to spend in-store for the lucky person whose entry is chosen as the winner by the DT team.
It is very simple to take part, all you have to do is make a project that follows the chosen topic and upload using the link tool at the bottom of the post. You can find all the rules and guidelines at the bottom of this post.

Now onto the topic for this months challenge: 
Blue and Orange - make a piece that showcases blue and orange as the main colours.

Here are a couple of samples from the DT to inspire you to play along

Jennifer - Icad


Anne - Tag


Naomi - Canvas


We hope you have fun creating and can't wait to see your entries!

Rules and Guidelines:
All entries must follow the chosen topic for the challenge entries that do not follow the topic will not be considered for the prize.
You can enter any kind of paper craft to be eligible for the prize.
No back linking is permitted entry must be new and not entered into no more than 2 other challenges.
The InLinkz link up tool will close at 23:55 (Australian Eastern Standard Time) on the last day of the month with the winner announced on the blog on the 5th of the following month.
The DT will vote to decide the winner of each challenge and their decision will be final.
The voucher will be emailed to the winner and can be used via the website or shop.


Monday, 25 August 2014

Some days..........

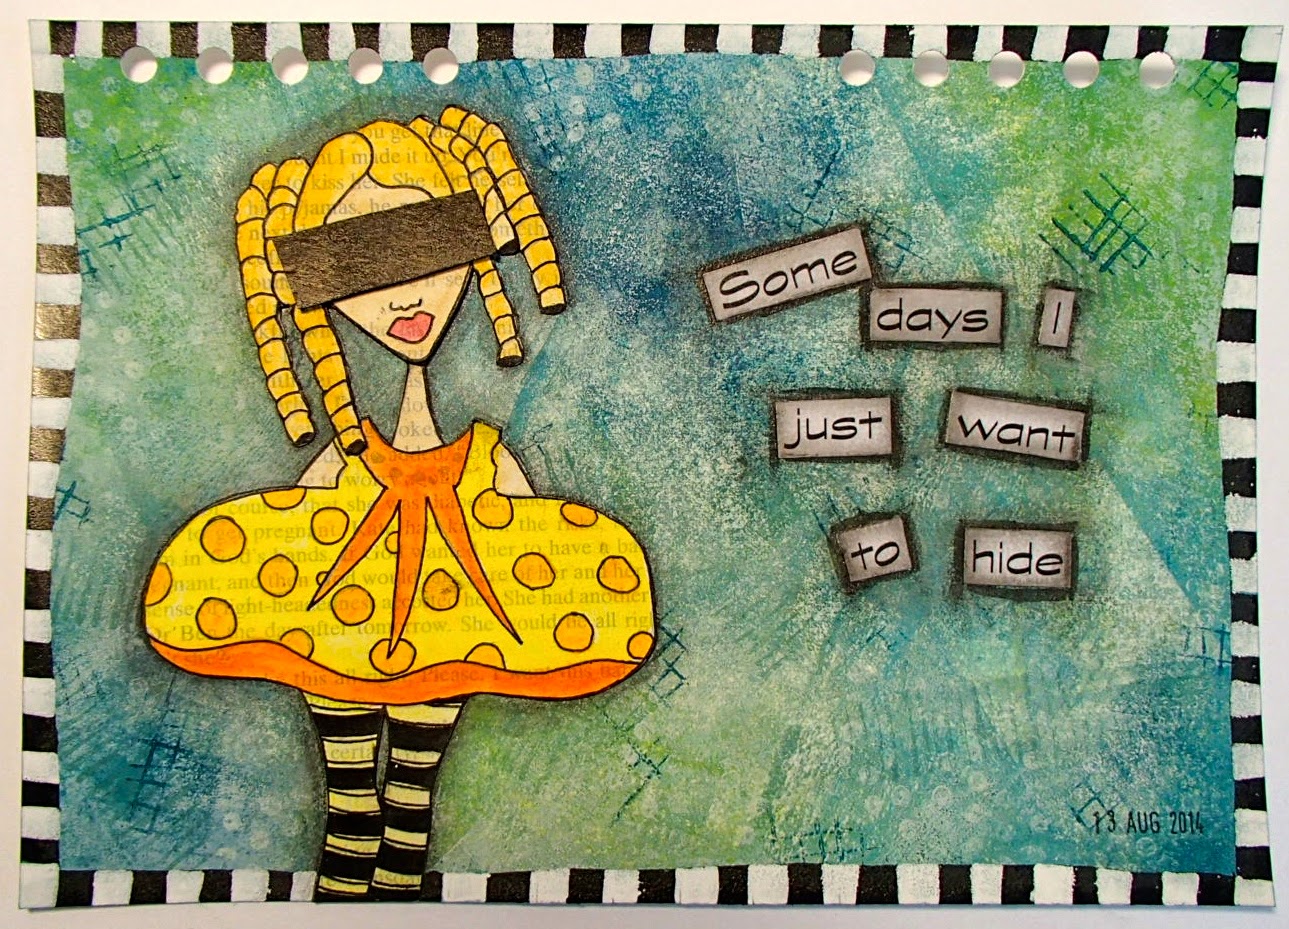
Hi crafters it is Naomi here with a fun journal page to share with you all.


I had a lot of fun doing this page and here is a step by step of how it came together.

I started out by creating a background using Inky Pool, Bora Bora, Dusty Teal, Mermaid, Limelight and Nougat Fresco Finish paints with a brayer and layering the colours until I was happy with the finish. I then used a couple of the stamps from Ellen Vargo collections to create some texture and interest on the background.


I then set this aside while I worked on the focal image which is from the Dylusions Curious Corin set. I stamped out the main image onto book paper which I had adhered to card stock with gel medium to give it a bit more stability. I then gave the whole thing I light coat of gesso and once this was dry I used my Inktense pencils to colour the image and then cut out.


This was then adhered to the background piece and I attached another mask piece over the eyes which I had blacked out. I then used my black and white paint pens to add a border around the piece.


I used my computer to print out the phrase and then cut it into smaller pieces and adhered to the page using matte medium and then outlined the words with a black big brush pen to help them pop off the page. The last thing was to add the date in the bottom corner.


 Here is a list of the products I used:
Arches 140lb water colour paper
PaperArtsy Fresco Finish chalk paints - Inky Pool, Bora Bora, Dusty Teal, Mermaid, Nougat
PaperArtsy Eclectica3 - EEV05, EEV06
Dylusions - Curious Corin
Derwent Inktense pencils
Faber Castell black big brush pen
Sharpie white paint pen

I hope you all have a great week

Naomi x

Sunday, 10 August 2014

An Art Journal Book Cover

Hi all, welcome, my name is Anne, and this is my first post as a member of the design team for  Crafters Cupboard

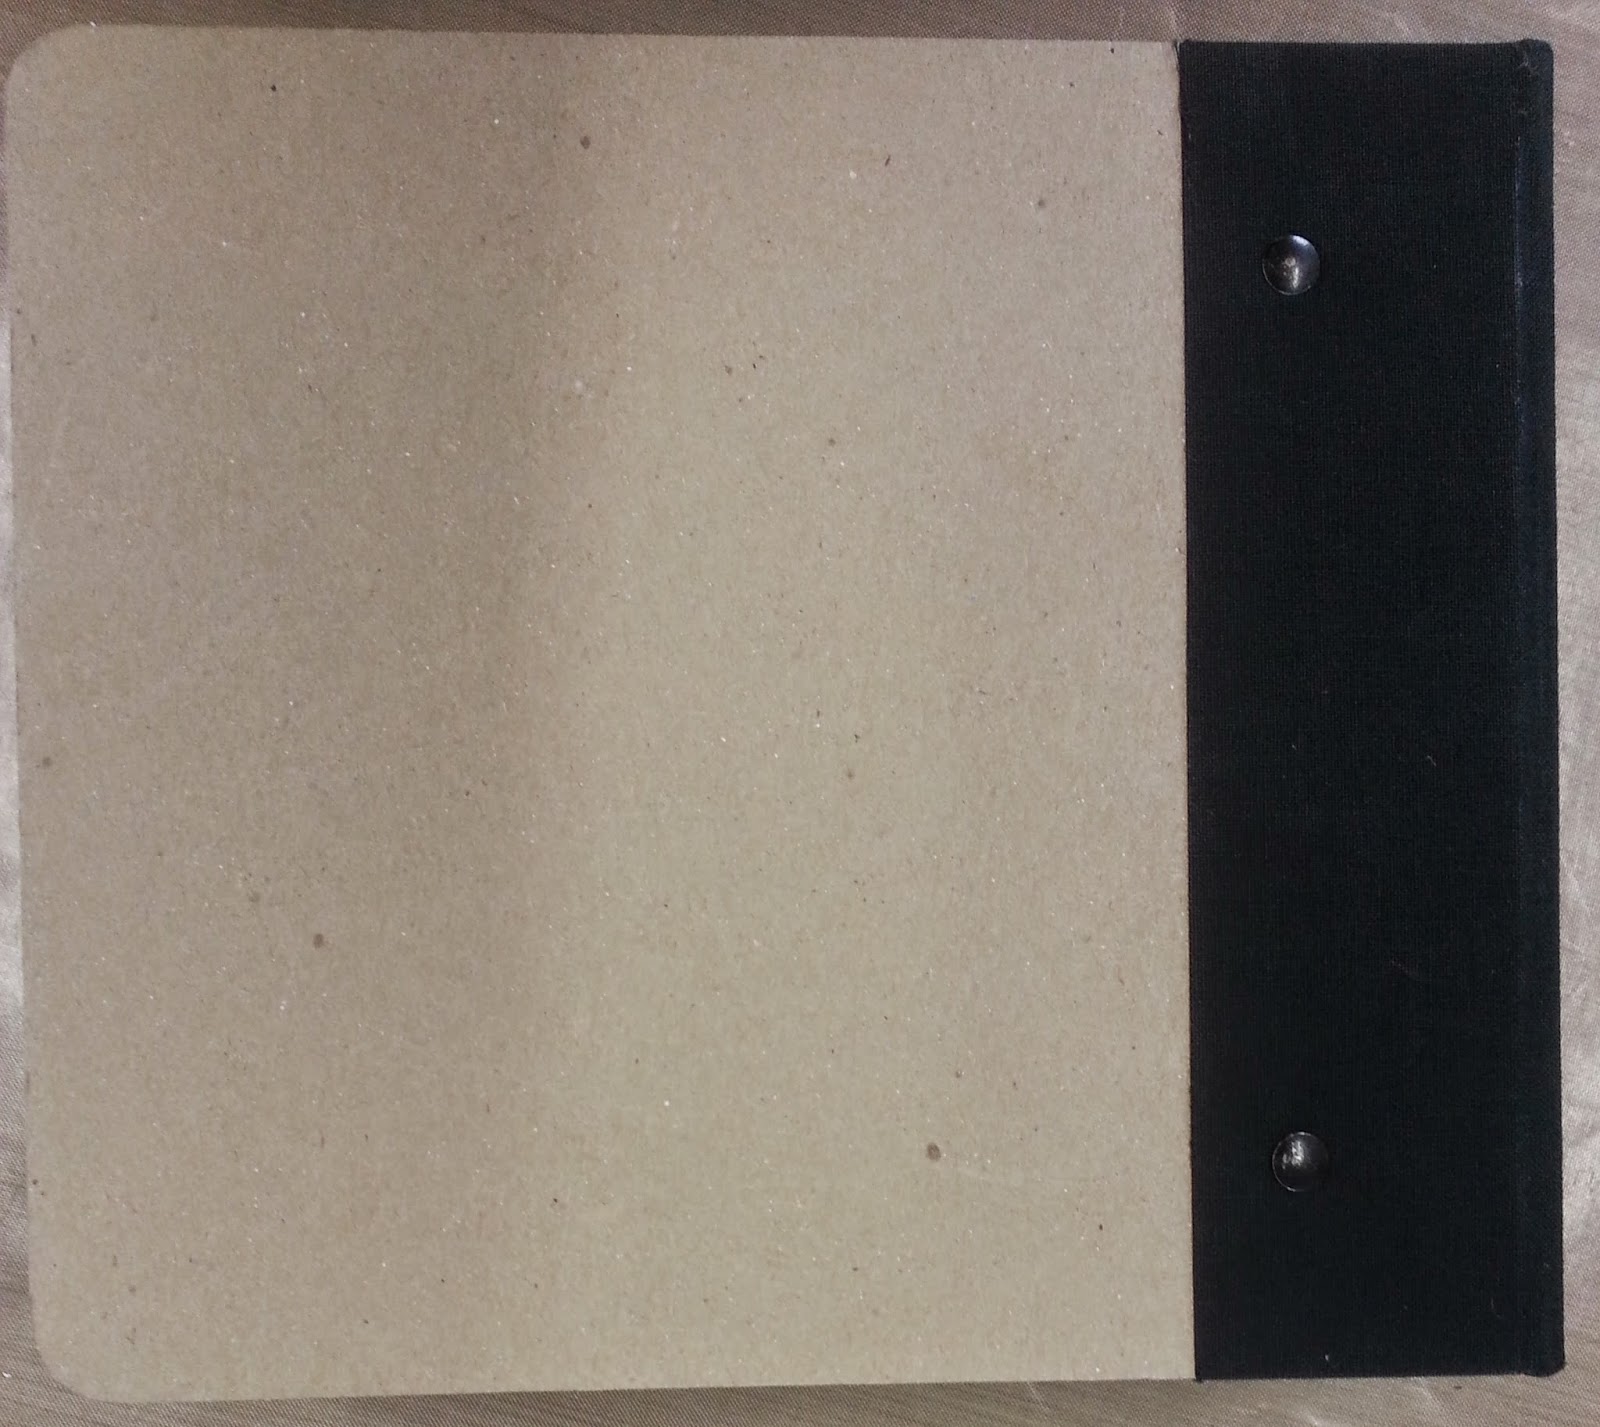
Today I would love to share with you an "Art Journal" book that I have made for myself using a blank cover that I had in my stash.


I started off by covering the whole cover in gesso.


From there I applied some Paper Artsy grunge paste through various stencils including TCW287s (Mini Burst), TCW436s (Mini Skyline), TCW467s (Mini Love, Live, Laugh) and THS018 Doily  from the Tim Holtz collection.  I also used some other stencils used from my own stash for two of the words on the front cover (the Journey) and two words on the back cover (travel journey)

Stencils front cover TCW467s. Spine THS018

Stencils back cover TCW 287s & TCW436s

After  adding the stencilling I then applied a light covering of Paper Artsy Fresco Paint "Stone" then I applied some "Very Berry." I then decided it needed a bit more, so using a stipple brush I applied a liberal coat of  "Stone, Very Berry and Claret" until I was happy with the overall effect.


After heat drying I then used Rangers Distress Ink "Black Soot" to  distress all the edges. I also used one of my favourite mediums which is "Treasure Gold" using the colours "White Fire and Spanish Topaz" to highlight all the stencilling and edges. When I was happy with the effects of the distressing and application of treasure gold, I added some stamping. I used the stamp set "Hot Picks HP1301EZ" from Paper Artsy.


From there I distressed the inside of the cover with "Black Soot" distress ink.


When I was happy with that, I added a bow to the front cover using some matching coloured ribbon from my own stash.

I cut out some printed paper from my Paper Artsy paper collection "Thordon Hall." I  then applied a light covering of "Victorian Velvet" distress ink, scrunched the paper a little to age it, and again lightly applied some "Black Soot" distress ink to highlight all the creases in the paper. I also re applied the "Black Soot" distress ink to all the edges. I heat dried the distress ink before I applied some more Treasure Gold to the edges.


Inside cover

I re-stamped the butterfly using the same stamp on the front cover, cut it out and coloured it in using the same colour paints used for painting the cover.After all of this was done I attached my butterfly over the butterfly stamp on the front cover using pop dots to give a 3 dimensional look.


I then cut out a bundle of 190gsm paper to make into the pages for my mini art journal.


I hope that you enjoy this "Mini Art journal" as much as I  have in making it. I'd love to see any creations you make using this great idea for creating an Art Journal cover.

Until next time,
Cheers,
Anne